Tuesday, April 26, 2011

Rainy Day Ideas!

Rainy days. We've had a lot of those lately, however it's not a bad thing. They can be utilized! To find some great ideas! Or thrift shopping! I'm terribly obsessed with the Sparta New and Used store (ok and rummage sales ). They've got sooo many great things that I just love to pick up. I've picked up a great antique yellow wire basket to display my programs! Also I found some amazing old window jams (you can totally hang them from trees and give everyone a fun background for photos. But also, Mason jars are one of them...


I'm so super stoked to show everyone what I'll be doing with them. I have tons of clear ones as well. My {three} mason jar centerpieces are going to be simple, but elegant.

Mason Jars can be used for soo many things, stick a small tealight in them so they burn beautifuly and create a comfy aura for your guests! Pour in some antique buttons to cretae a filler and add dimension. I'll be also using some of the mason jars to display my engagement photos of Jesse and I (my complete crafting experience coming soon to a new blog post) taken by Krystal Muellenberg of Krystal Muellenberg Photography! Check her out! http://www.krystalmuellenberg.com/


So take a day, and go rummaging! Get some coffee, bundle up, and smile! Make good use of this weather:)

Tuesday, April 19, 2011

Saving $$ is my middle name...

When planning a wedding, a bride is faced with many questions. One of them is Real Flowers or Fakes? I chose fakes, after a quick calculation, I was able to make my bouquets for my bridesmaids for $16.08 - that includes flowers, tape, and dried naturals that I used to create my rustic masterpieces. My bouquet in the end cost me $24.50. A pretty good deal in my book!

The supplies I needed included:
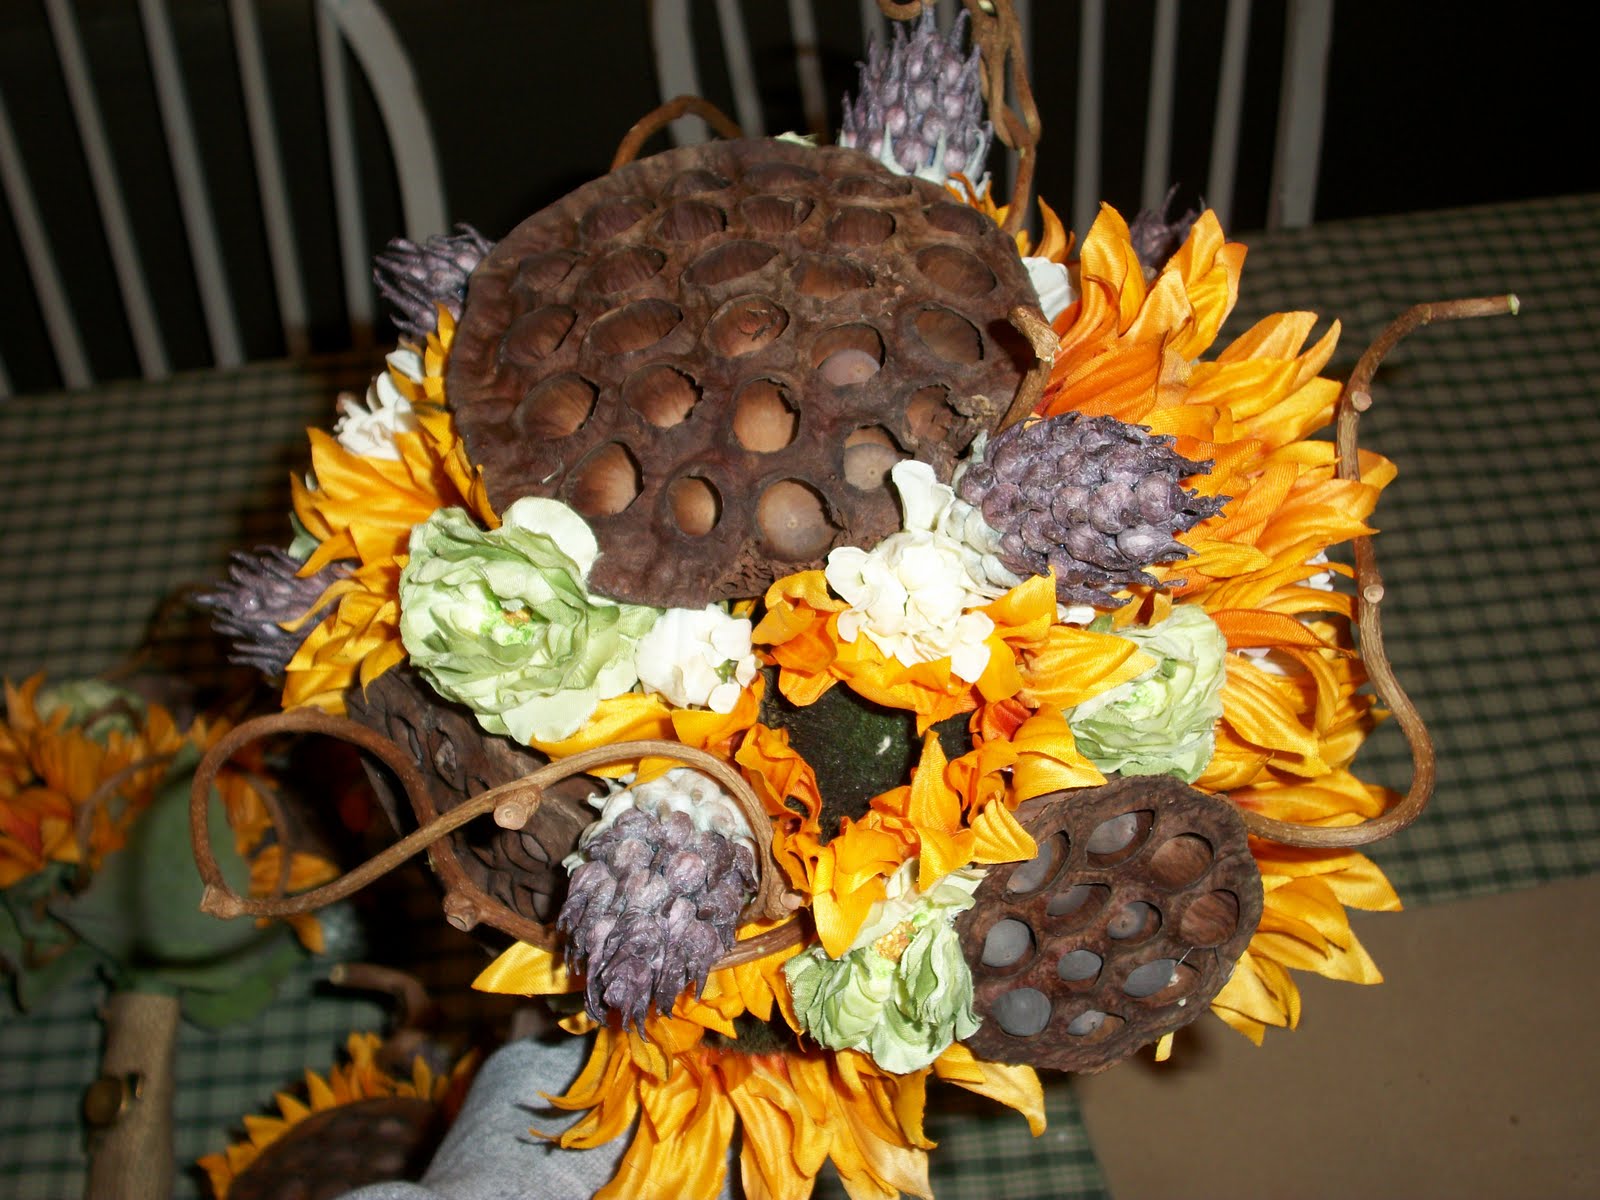

  • Fake Flowers
  • Wire cutters
  • Flower tape (Very cheap!!)
  • Hot glue gun & glue
  • & Accessories (you'll see what I mean)


I'm  using the antique buttons and the burlap as my stem "wrappers". What's great about the buttons I have is that they were my Great-Great Grandmothers. So I have "something old"

Start with two stems, and flower wrapping tape. Tightly wrap them together, sticky side (of tape) down.


Add the stems one by one, wrapping each one to the original base stem you have created. You will end up with this:


You will need to cut the access stems off the bottem to the length that you desire on your bouquets. Next I added the burlap & buttons:


I needed to cut the burlap to fit each individual bouquet. This is where your hot glue gun is going to come in handy. I ironed the burlap and folded over a 2 in section on the top and ironed it down, glue the sides of the folds together. I then selected antique buttons for each bouquet based on the personalities of my bridesmaids. I hot glued them to the burlap. Next create a glue strip going down the side of the base stem, add hot glue dots on the base stem to glue down the burlap.


When the gluing is done, I added scrapbooking brads to tie down the ends of the burlap.


And this is my finished product. I was able to make 3 bouquets per hour, 7 total bouquets. With the accessories included, it took a total of 5 hours!

And that's a the quick DIY of the day!

Thursday, April 14, 2011

Why DIY?

Why do I chose DIY? Well... It all began quite a long time ago. My mother was good at entertaining us (no tv!) with crafty fun to keep us busy. I've always enjoyed it, now that I'm planning a wedding I'm going to use by creative juices to keep me busy. There's nothing more fun to me than the intricate details, yes I am detail obsessive. But that is what's going to make my day that much better for me. Bridezilla? NO... Just creative, inventive, whatever you may dub me! So get ready to gather supplies, because I'm going to show you how to make some pretty nifty stuff.

* My wedding theme is centered around rustic-ness....and vintage. But you can easily make it whatever you need to!